The three minutes that make the cup
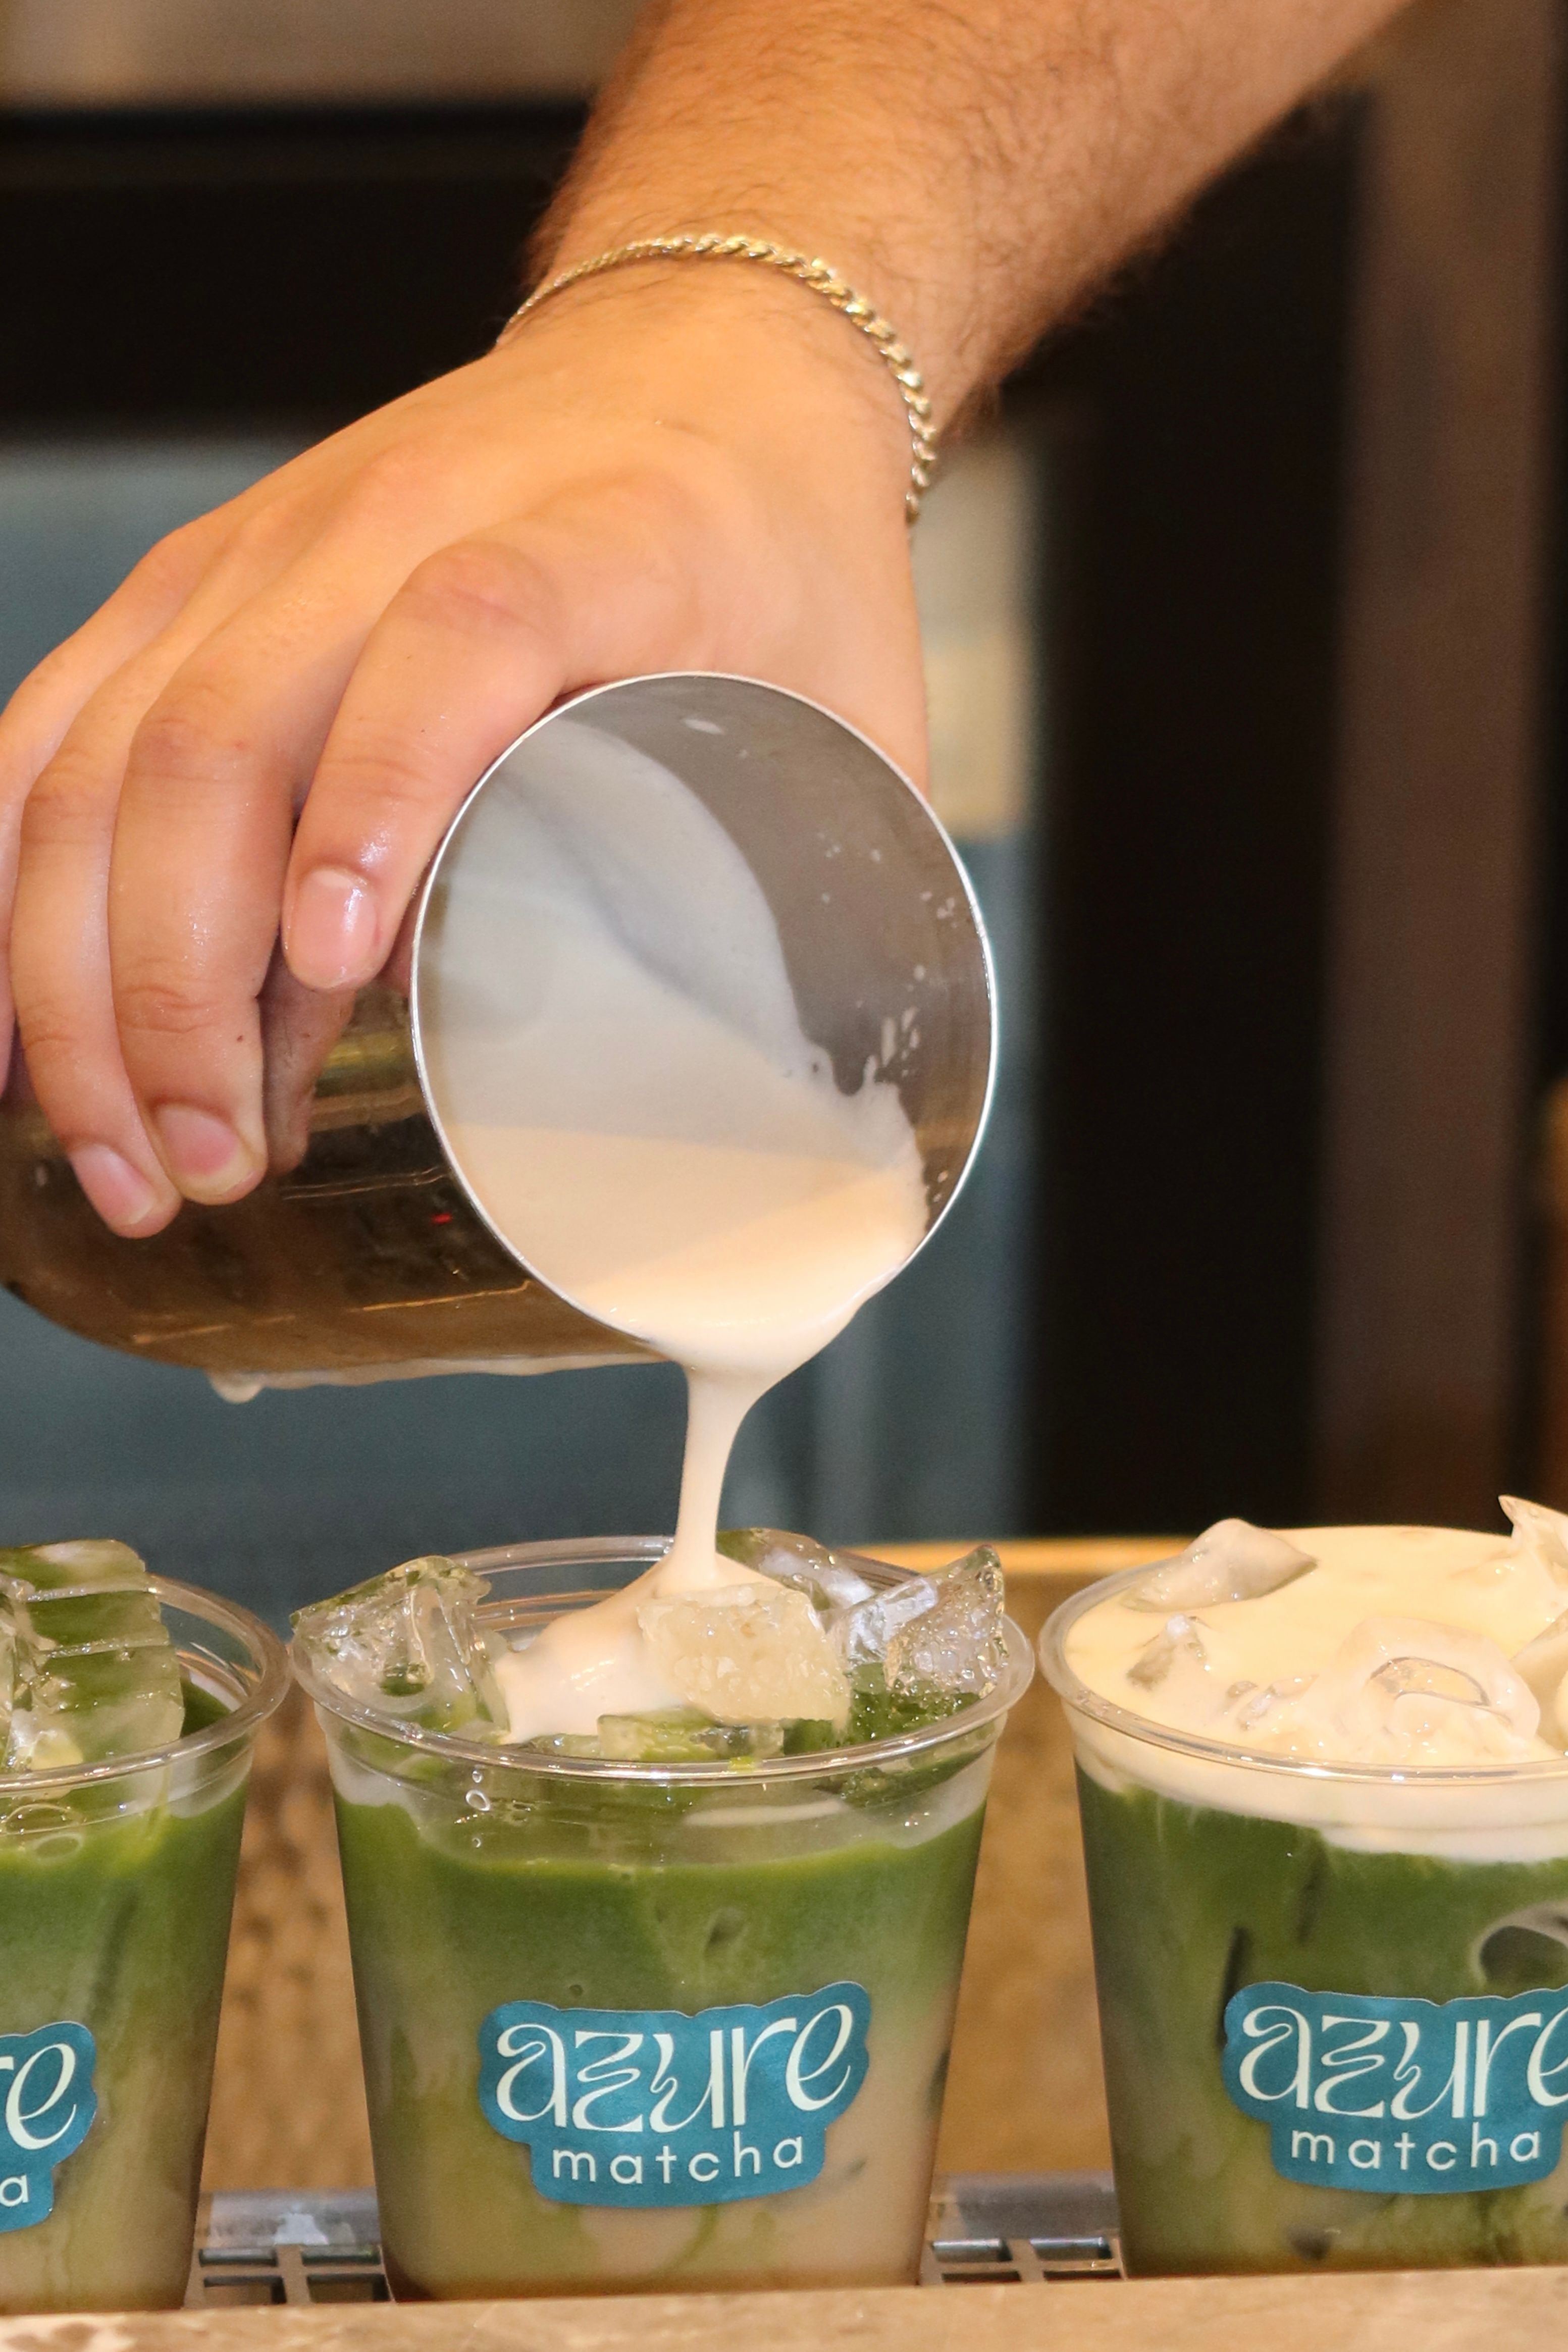
There's a moment, right before the whisk hits the bowl, where the powder is still just powder. Green, fine, sitting in a small mound at the bottom of a ceramic bowl, waiting. What happens in the next three minutes is the entire difference between a flat, clumpy drink and the smooth, frothy bowl matcha is supposed to be.
It isn't complicated. It's just precise, and it rewards doing it in order: sift, paste, whisk. Here's how we do it every morning, cold, with room temperature water.
Why cold
Most matcha guidance defaults to hot water, somewhere just off the boil. We don't. Azure has whisked cold from the start, back when it was still just two people arguing about it over text messages long before there was a brand around the idea. It's stayed our house method since, not as a gimmick, but because it solves a real problem hot water creates.
Heat pulls bitterness out of matcha fast. Even water kept well under boiling can scorch a first-flush leaf enough to draw out a sharper, more astringent edge than the leaf actually wants to show. Room temperature water sidesteps that entirely. Nothing in the bowl is hot enough to stress the matcha, so what comes through is closer to the leaf's actual character: rounder, sweeter, without the slightly cooked note hot water tends to introduce.
There's a texture argument too. Cold water is denser and holds air differently than hot water once a whisk gets moving through it, which tends to produce a tighter, more stable foam that holds instead of collapsing in the first minute. Iced or blended into a milk, this matters even more, since there's no temperature clash between a hot bowl and cold milk working against each other.
None of this means hot matcha is wrong. It's simply not how we make it, and once you've had it cold, done properly, it's hard to go back to thinking of that as a compromise rather than a preference.
What you need
- Matcha (2 grams for something lighter and milk-forward, 4 to 6 grams for a stronger, more traditional bowl)
- A small sifter or fine-mesh strainer
- A bowl with some width, wide enough that a whisk has room to move
- Room temperature filtered water, nothing heated
- A bamboo whisk, or chasen. An electric frother gets you foam, but not the fine, dense bubbles a bamboo whisk builds, and it doesn't handle the paste stage the same way
- Your flavoring of choice, if you're using one, ready to go before you start
Step one: sift
Matcha clumps. It's a natural property of a powder ground this fine, and no amount of whisking later fully undoes a clump that's already formed. So it starts here: push the matcha through a small sifter directly into your bowl, using the back of a spoon to work it through if it's slow to pass.
This takes maybe twenty seconds and it's the step people skip most often. Skip it, and no matter how well you whisk afterward, you'll get small dense pockets of matcha sitting in the froth instead of an even texture throughout. Sifting isn't optional technique. It's the first and easiest place to lose the whole cup.
Step two: paste, and where flavor goes
This is the step most people have never heard of, and it's the one that actually makes the difference between a good cup and a mediocre one.
Add a small splash of your room temperature water to the sifted matcha, just enough to dampen it, not enough to fully liquefy it. You're aiming for something closer to a thick, dark green paste than a drink. Using your whisk, work this paste in a tight, fast motion, back and forth, until every bit of dry powder is gone and it's fully smooth. It should look glossy, almost like a thin ganache.
If you're adding flavor, a compote, an essence, a touch of sweetener, this is the moment, not later. Building it into the paste means it disperses evenly through the concentrated matcha before there's enough water in the bowl for it to just sit on top or settle unevenly. Whisk the flavoring into the paste the same way you'd work in the water: tight and fast, until the color and consistency are uniform. Taste the paste at this stage if you want to adjust. It's far easier to correct here than after the bowl is full.
The reason the paste stage matters at all: matcha powder resists water in small clumps rather than absorbing it evenly. Add all your water at once and start whisking, and the outside of any tiny clump hydrates while the inside stays dry, which is the same texture problem sifting was supposed to solve, just showing up again downstream. Building a concentrated paste first forces full, even hydration, and full, even flavor distribution, before there's enough liquid in the bowl for either one to hide in.
This stage takes maybe thirty seconds, and it's worth every one of them.
Step three: whisk
Now add the rest of your room temperature water, slowly, while continuing to whisk. The motion matters more than the speed: a tight W or M shape, wrist doing the work rather than your whole arm, keeping the whisk moving through the liquid rather than stirring it in circles. Circular motion mostly moves the liquid around; the W motion is what actually incorporates air and builds the froth.
You're looking for a fine, dense foam across the top, small bubbles rather than large ones, with the surface taking on a slight matte quality rather than staying glassy. Cold water tends to hold that foam a little longer than hot, so don't rush this part expecting it to collapse the way a hot bowl's foam sometimes does. Fifteen to twenty seconds of steady whisking once the water's all in is usually enough, longer if the paste wasn't fully smooth going in, which is generally a sign to revisit that step next time rather than whisk harder now.
From there, it's done. Drink it as is, or pour over ice, or top with the milk of your choice. Because the flavor already went in at the paste stage, everything that follows just needs to combine, not fight to catch up.
What good actually looks like
A properly made bowl has a layer of fine foam on top, pale and dense, not the large loose bubbles you'd get from a milk frother. Underneath, the color should read vivid and green, not muddy or brown, which usually points to a leaf that wasn't first-flush to begin with rather than anything about temperature. The taste should lead with a rounded, slightly creamy sweetness before anything sharper shows up behind it, and cold preparation tends to make that opening sweetness even more noticeable than hot water does. Grassy, flat, or overtly bitter almost always traces back to a skipped paste stage or a leaf that was never shade-grown, rarely to the whisking itself.
The point of doing it this way
None of this exists to make matcha harder than it needs to be. Cold, room temperature water protects the leaf's actual flavor instead of cooking a sharper one out of it. The paste, built first and flavored first, is what keeps everything even instead of clumped or unevenly sweet. The whisk just finishes what the first two steps already set up correctly.
Three minutes, once a day, cold, where the only job in front of you is sifting, building a paste, and whisking until it's right. It's the same method we were arguing about over text messages before there was a name for any of this. Some things don't need updating once you've found them.